| title | Hostname-Based Multi-Tenancy |
|---|---|
| description | Learn how to structure a hostname-based multi-tenant app using TanStack Start with React. |
This tutorial assumes @tanstack/react-router: v1.132+.
In many SaaS applications, a single codebase serves multiple tenants. Each tenant may have its own branding, metadata, and configuration.
In this tutorial, we will build a hostname-based multi-tenant application using TanStack Start and TanStack Router.
The goal is to identify tenants using the incoming request hostname and provide tenant configuration to the application during SSR.
The complete code for this tutorial is available on https://github.com/harshG775/tanstack-start-multi-tenant-example.
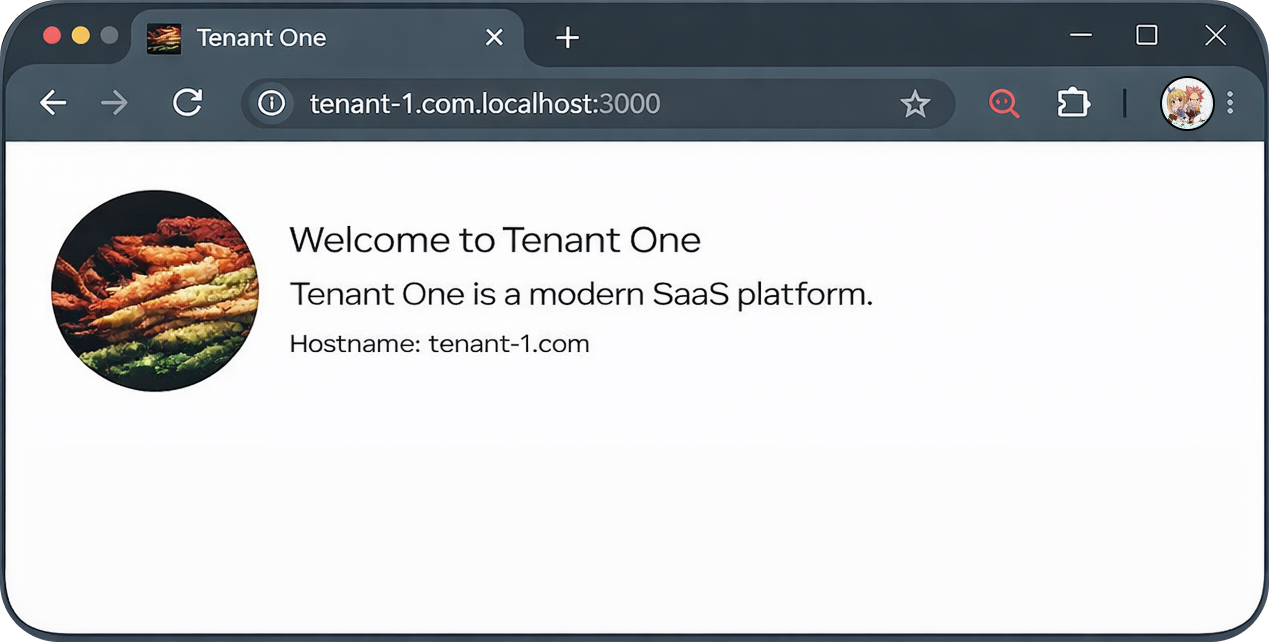
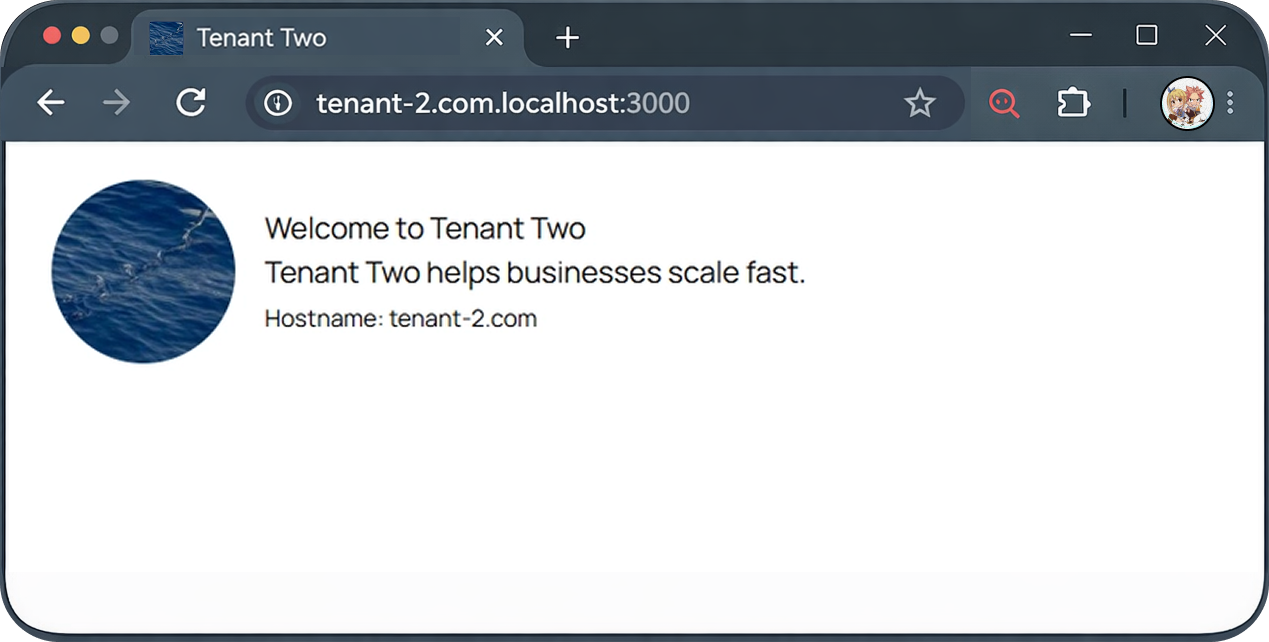
Two tenants running from the same application:
tenant-1.com → Tenant One branding
tenant-2.com → Tenant Two branding
Tenant 1 with custom branding and logo.
Tenant 2 with custom branding and logo.
Each tenant will have:
- custom name
- description
- logo
- favicon
All resolved automatically during the request lifecycle.
Tenant resolution happens during SSR before the router renders.
Request
   ↓
Nitro Runtime
   ↓
getRequestUrl()
   ↓
normalizeHostname()
   ↓
getTenantConfigByHostname()
   ↓
Router Context
   ↓
Hydrated Application
The tenant configuration is loaded once and injected into the router context.
src
├─ functions
│  └─ tenant.serverFn.ts
├─ lib
│  ├─ api.ts
│  └─ normalizeHostname.ts
├─ routes
│  ├─ __root.tsx
│  └─ index.tsx
└─ router.tsx
First we create a simple tenant lookup function.
src/lib/api.ts
export type TenantType = {
  id: string
  hostname: string
  meta: {
    name: string
    description: string
    logo: string
    favicon: string
  }
}

const tenantsDB = [
  {
    id: 'tenant-1',
    hostname: 'tenant-1.com',
    meta: {
      name: 'Tenant One',
      description: 'Tenant One is a modern SaaS platform.',
      logo: 'https://picsum.photos/seed/tenant1/200/200',
      favicon: 'https://picsum.photos/seed/tenant1/32/32',
    },
  },
  {
    id: 'tenant-2',
    hostname: 'tenant-2.com',
    meta: {
      name: 'Tenant Two',
      description: 'Tenant Two helps businesses scale fast.',
      logo: 'https://picsum.photos/seed/tenant2/200/200',
      favicon: 'https://picsum.photos/seed/tenant2/32/32',
    },
  },
]

export const getTenantConfigByHostname = ({
  hostname,
}: {
  hostname: string
}) => {
  return tenantsDB.find((tenant) => tenant.hostname === hostname) ?? null
}
In production this would typically query a database.
During development the hostname might look like:
tenant-1.com.localhost:3000
We normalize it before resolving the tenant.
src/lib/normalizeHostname.ts
export const normalizeHostname = (hostname: string): string => {
  let finalHostname = hostname

  if (hostname.includes('localhost')) {
    const cleaned = hostname.replace('.localhost', '').replace(':3000', '')

    finalHostname = cleaned
  }

  return finalHostname
}We resolve the tenant during SSR using a server function.
src/functions/tenant.serverFn.ts
import { getTenantConfigByHostname } from '#/lib/api'
import { normalizeHostname } from '#/lib/normalizeHostname'
import { createServerFn } from '@tanstack/react-start'
import { getRequestUrl } from '@tanstack/react-start/server'

export const getTenantConfig = createServerFn().handler(async () => {
  const url = getRequestUrl()

  const hostname = normalizeHostname(url.hostname)

  const tenantConfig = getTenantConfigByHostname({ hostname })

  if (!tenantConfig) {
    throw new Response('Tenant Not Found', { status: 404 })
  }

  return tenantConfig
})Next we load the tenant configuration when the router is created.
src/router.tsx
import { createRouter as createTanStackRouter } from '@tanstack/react-router'
import { routeTree } from './routeTree.gen'
import { getTenantConfig } from './functions/tenant.serverFn'

export async function getRouter() {
  const tenantConfig = await getTenantConfig() // <--

  const router = createTanStackRouter({
    routeTree,
    scrollRestoration: true,

    context: {
      tenantConfig, // <--
    },
  })

  return router
}

declare module '@tanstack/react-router' {
  interface Register {
    router: ReturnType<typeof getRouter>
  }
}
Now the tenant configuration is available throughout the application.
The root route can now dynamically set metadata and assets.
src/routes/__root.tsx
import type { TenantType } from '#/lib/api'
export const Route = createRootRouteWithContext<{ tenantConfig: TenantType }>()(
  {
    head: ({ match }) => {
      const tenant = match.context.tenantConfig // <--

      return {
        meta: [
          { title: tenant.meta.name },
          { name: 'description', content: tenant.meta.description },
        ],
        links: [{ rel: 'icon', href: tenant.meta.favicon }],
      }
    },
  },
)Tenant data can be accessed using useRouteContext.
src/routes/index.tsx
import { createFileRoute, useRouteContext } from '@tanstack/react-router'

export const Route = createFileRoute('/')({
  component: HomePage,
})

function HomePage() {
  const { tenantConfig } = useRouteContext({ from: '__root__' }) // <--

  return (
    <main>
      <img
        src={tenantConfig.meta.logo}
        alt={tenantConfig.meta.name}
        width={100}
        height={100}
        style={{ borderRadius: '50%' }}
      />
      <h1>{tenantConfig.meta.name}</h1>
      <p>{tenantConfig.meta.description}</p>
    </main>
  )
}The same application now serves different tenants depending on the hostname:
tenant-1.com → Tenant One
tenant-2.com → Tenant Two
Each tenant receives its own:
- metadata
- branding
- configuration
All resolved during server-side rendering.
- Caching: Cache
getTenantConfigByHostname(e.g., Redis or in-memory cache) to avoid repeated database lookups. - Validation: Ensure tenants are active and not suspended before returning configuration.
- Assets: Use absolute URLs or correctly prefixed CDN paths for cross-domain asset loading.
- Security: Avoid exposing internal tenant configuration fields to the client.